About The Course
Welcome to Flying L Golf
Flying L Ranch Resort & Golf Course is nestled in the beautiful Texas Hill Country, located in Bandera, Texas, known as “The Cowboy Capital of the World”. The course is 6,646 yards from the back tees with majestic hills as a backdrop and is enjoyable for players of all skill levels.
There are significant elevation changes and large oaks throughout making each hole a distinct memory. Texas weather allows for year-round playability, making Flying L the preferred Hill Country destination of people near and far. Come experience the Flying L championship golf course where our professional staff awaits to assist with all your golfing needs.

The Course in Detail
Our 19-hole course is designed to offer a variety of challenges while remaining accessible to all skill levels. Here’s a closer look at what you can expect.
Whether you’re a seasoned golfer or just starting out, Flying L Golf Course provides an unforgettable golfing experience in the heart of the Texas Hill Country. Join us for a round and discover why so many golfers consider our course a must-play destination.
Book your tee time today and experience the beauty and challenge of Flying L Golf
Hole 1

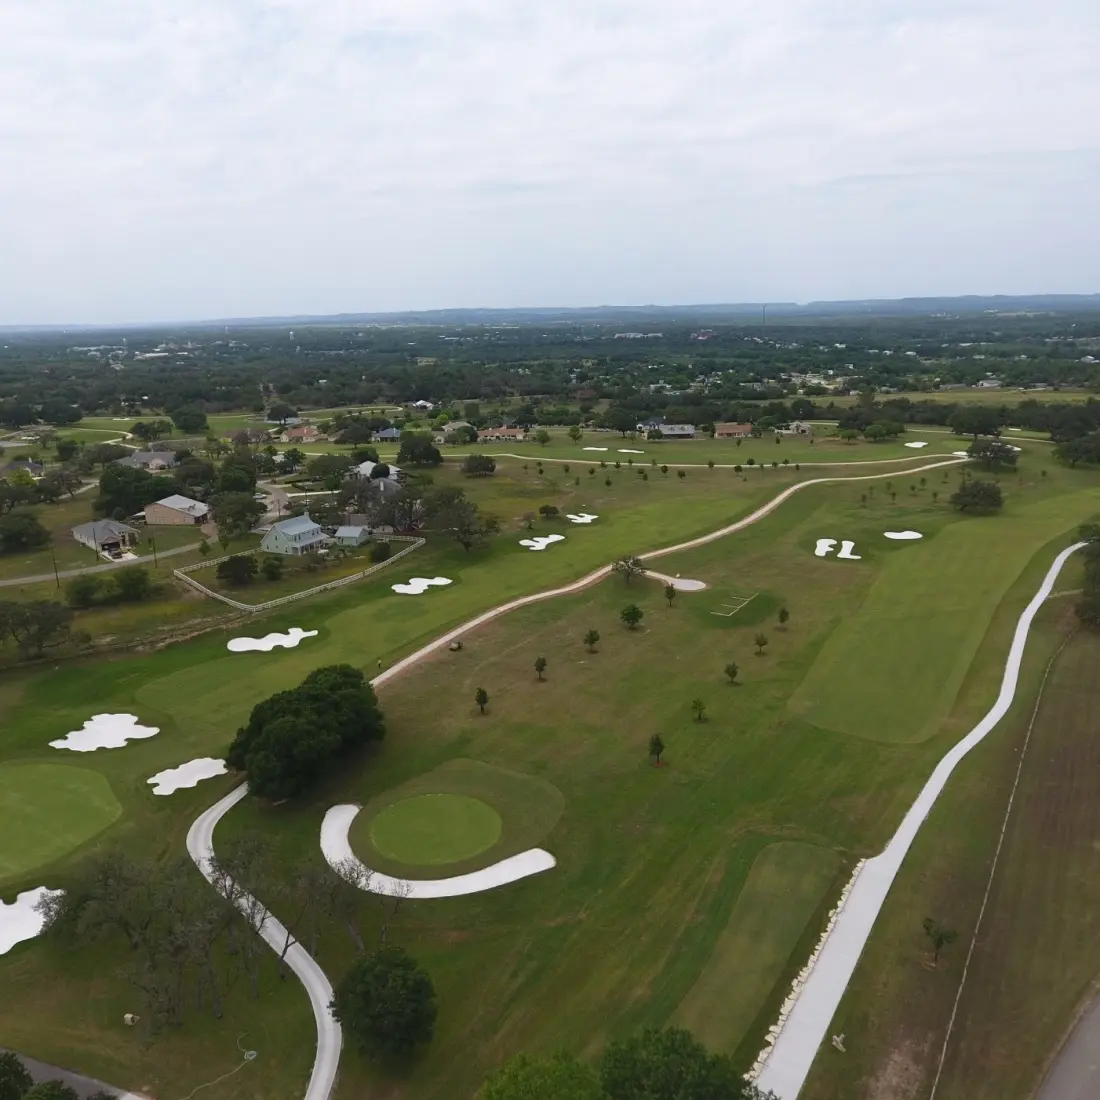
A gentle dogleg right par 5 that offers a good opportunity for birdie to open your round. The key to this hole is placement.
Out-of-bounds the entire right side, trees right and left and our signature “F L” bunkers on left. A well placed drive in the center area of the fairway provides the best angle of approach. From there, keep your approach on the correct side of the green as it is tiered from left to right.
Distance control is also a must with bunkers
surrounding the green.
Hole 2
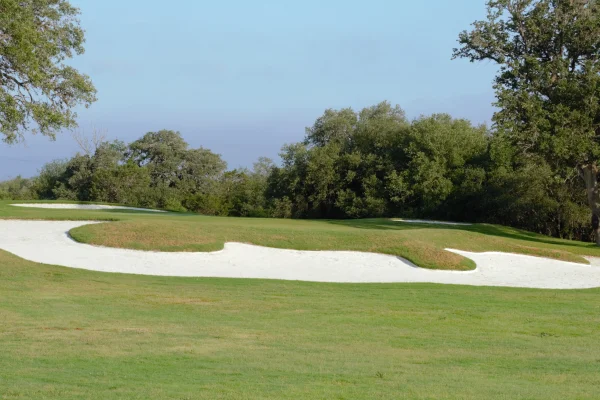
A very deceptive par 3. Not long but is significantly uphill with a “monster” bunker covering the entire front and large oaks right and left.
The bunker is deceptive as there is a lot of space between the greenside edge of the bunker and the front edge of the green. Anywhere in the front half of this bunker requires a long, high shot to make it on the green.
Long is also not so good as there are bunkers back there as well. Club selection is key for distance on
this uphill hole.
Hole 3
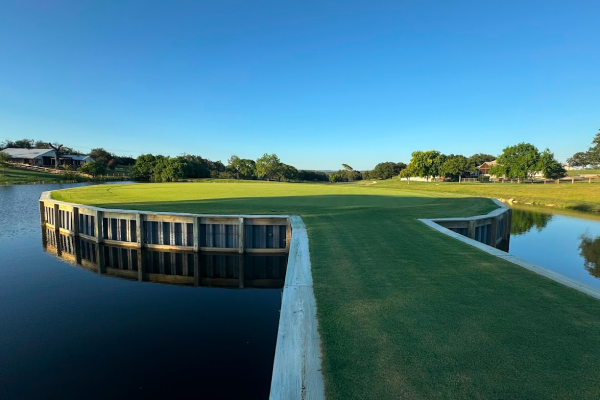
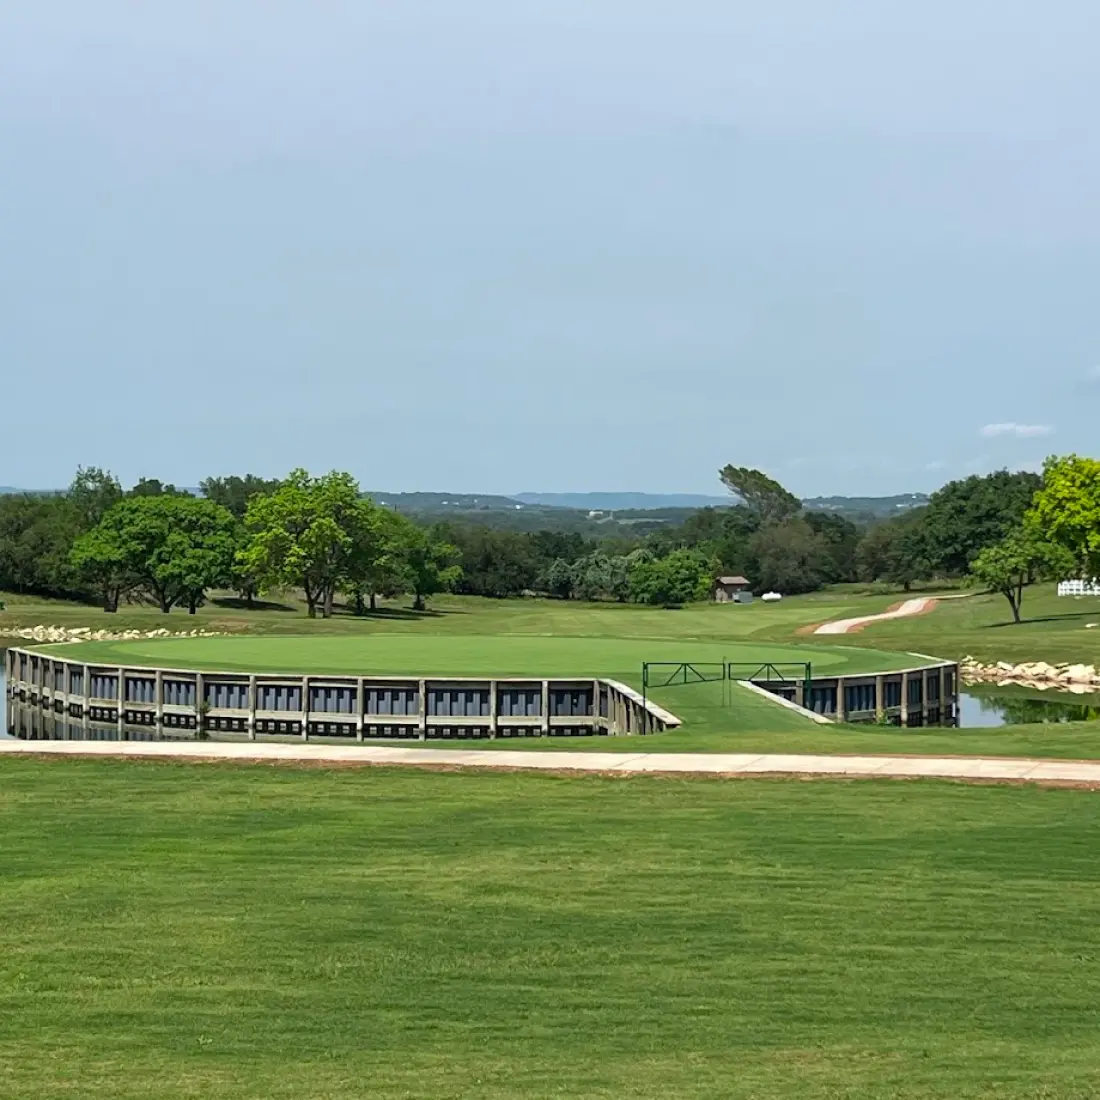
Our “Signature Hole” and toughest scoring hole on the course. Dog leg left, Island Green, Par 4.
Out-of-bounds both left and right. Large trees guard the left so a right to left shot is the best way to play the Tee shot. Stay away from the right edge of the fairway and rough. The trees are unforgiving for the type shot required to hold this green.
The green is much higher than the fairway, so you better know your distance and control it well. You cannot see the green surface standing in the fairway but the retaining wall around the green provides for a pretty good target line.
Hole 4
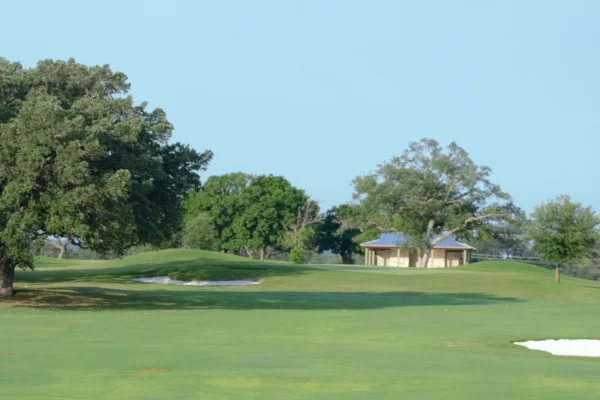
“Easy Little #4” is very risk/reward oriented straight par 4. The tee is elevated (somewhat) with water between the tee and fairway. The fairway goes uphill hence the somewhat for the elevation of the tee.
Stay away from the right side as out-of-bounds extends the entire hole, and a bunker sits midway just waiting to gobble up errant shots. There is also a small pond hiding amongst the trees on the left so landing in the fairway is paramount.
The approach is uphill to a well-guarded green. Bunkers both right and left protect the front and the sides/back have significant slopes.
Hole 5
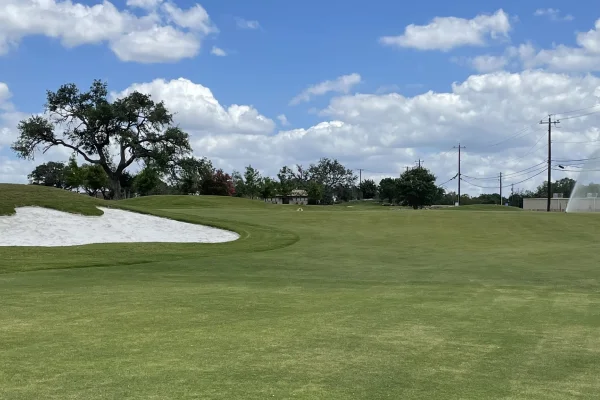
Dog leg left Par 4. Aim for the rock column on the sign and hit it straight. Out-of-bounds on the right and left, large mound on the left, bunker on left and bunkers on right at dog leg. Avoid all that and you should have a decent approach.
If you’re feeling aggressive and can hit it long off the tee, take aim across the mound and left of the trees at the green with a little fade. This is particularly risky as the left side Out-of-Bounds spans the length of the mound and this green is only 18 yards wide and protected by bunkers on all sides except the back.
Hole 6
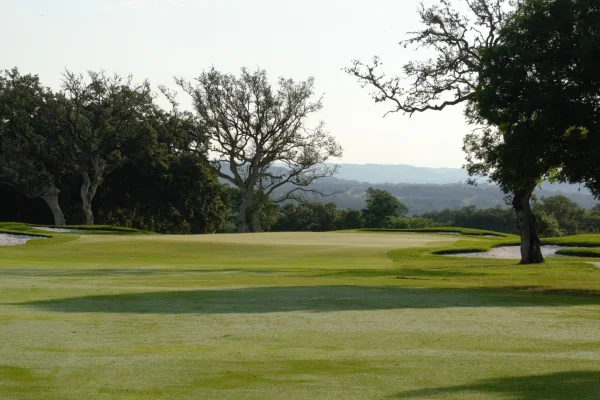
Par 4 with only the gentlest curve to the right. A well-placed drive in the middle or left center of the fairway provides the best opportunity for birdie. Large mound on left side with out-of-bounds centered across the top and bunkers on left and right side of fairway.
Avoid the trees on the right or you will probably find yourself playing a punch shot back into the fairway. Green is well guarded with bunkers all the way around.
Hole 7

A short par 3 with water and bunkers guarding the front and significant slopes left and back.
The slope of the green is more significant back to front than side to side.
Hole 8
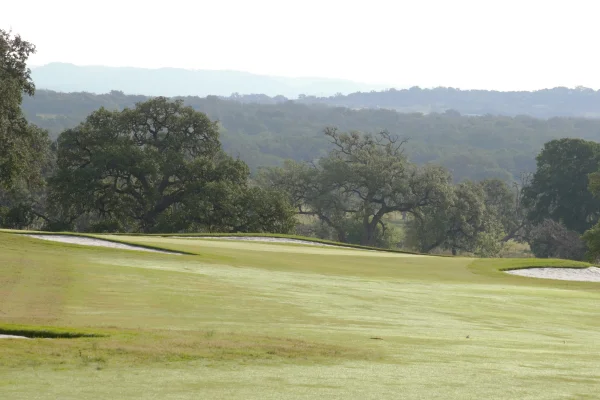
A long par 5 requiring a well-placed tee shot. The tee shot is uphill with out-of-bounds and bunkers on both sides. A grove of newly planted trees also guards the right.
This hole has one of the widest fairways and rough areas on the course even if it doesn’t look that way from the tee.
A well-placed second shot down the center leaves a nice angle of approach to this green guarded by bunkers all around.
Hole 9
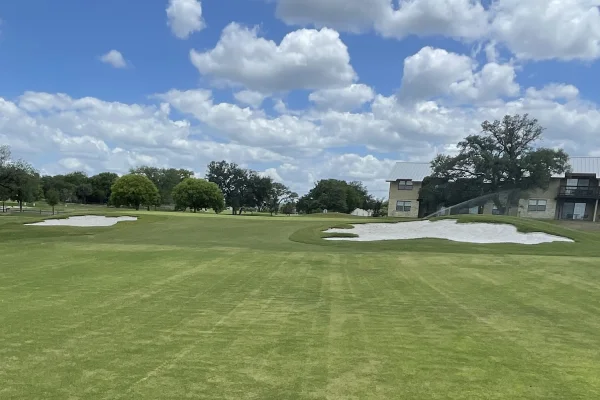
The “Hole From Hell”. The longest par 4 and bunker after bunker down the right side. Out-of-bounds down right side and paralleled on left by our hole nineteen.
Play your tee shot down the right half of this fairway as it slopes from right to left.
The green is guarded by bunkers everywhere except the back right. Do not go long on this hole. The slope off the back will likely send your ball across the road and out-of-bounds.
Hole 10
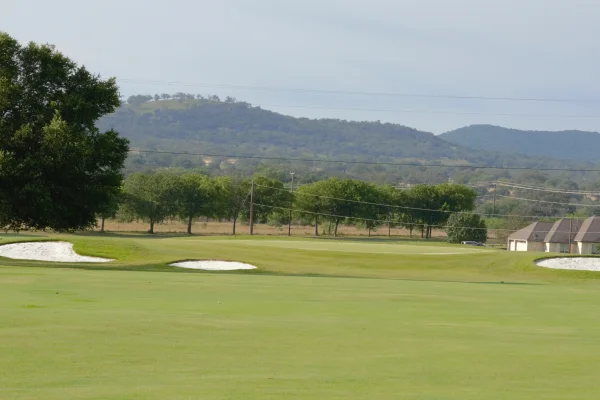
Get ready for a different experience as the back nine is not like the front. A slight dogleg left par 4 with bunkers on both sides of fairway and water on right.
Out-ofbounds on both sides and beyond green. Green slopes right to left and severe sloping off the green both sides and back. Beware the power lines crossing this green.
If your ball contacts them, you must replay the shot without penalty
Hole 11
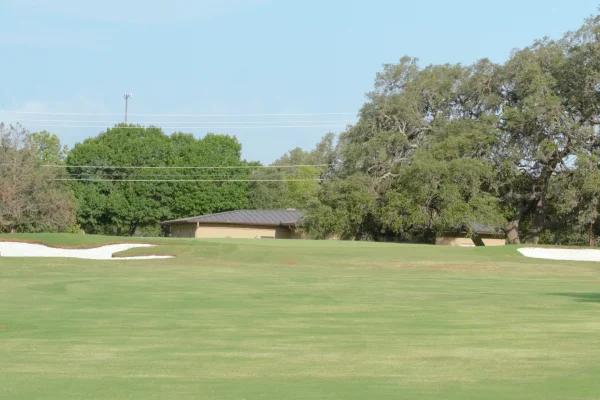
.Par 4 with a slightly uphill tee shot. Take aim down the right edge of cart path and find the middle of fairway. Out-of-bounds on both sides and sizeable mound down left side.
Trees on both sides stand ready to gobble up errant shots and mounds on the right could make for some tough lies for those that are wayward.
The front of the green is protected by bunkers and green slopes mainly right to left.
Hole 12
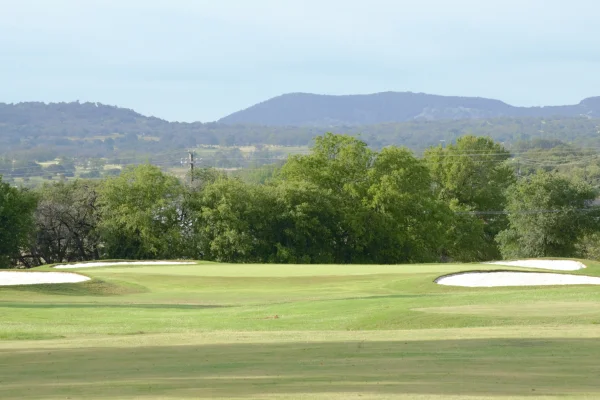
Second longest par 3 playing into the wind most of the time.
Out-of-bounds on both sides and bunkers all around the green. Sloping is severe on the backside of this green. Go long and the slope could kick your ball out in the trees and double bogey.
Club selection is crucial as the wind is easily misjudged. Choose wisely and birdie may be in your future.
Hole 13
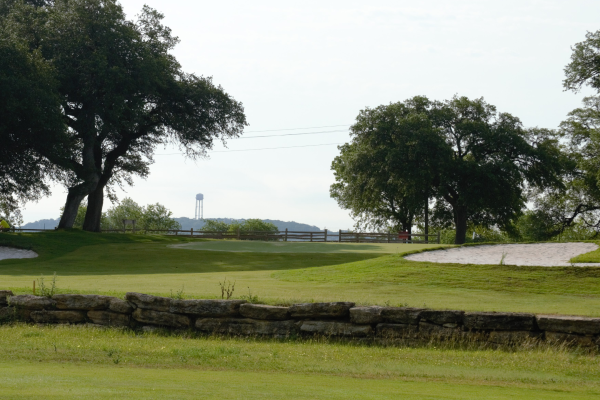
The shortest of the par 5s offering a good chance for birdie with well-placed shots. Fairway bunkers loom both left and right so choose your distance and aiming point wisely off the tee.
Long hitters can aim down the left side over the bunker and have a chance to reach the green in two but beware of out-of-bounds the entire way on the left.
Trees on the left are unforgiving and the right side has a penalty area (red staked) its entire length. A rocky water crossing and low wall ensure you really consider distance on layup shots and capture those poor hit attempts at “going for it.”
Hole 14
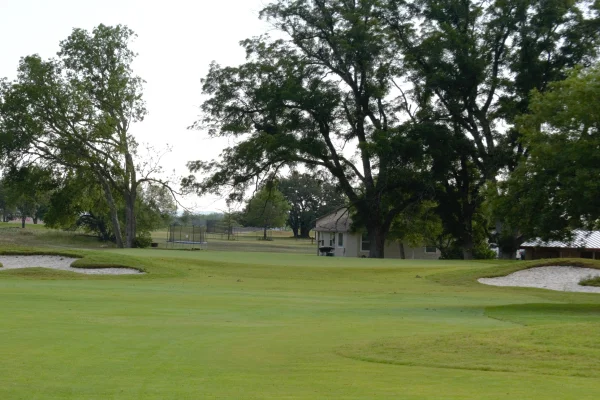
Tee is slightly elevated on this straight par 4 providing a great view of the hole. Out-of-bounds on both sides. Trees line the right the entire way and a grove of trees on the left are ready for errant tee shots.
Fairway bunkers are on both sides so keep your aim straight. Bunkers also protect the front of the green on both sides and sloping can send shots missing this green out into the trees. All in all, this hole presents a good opportunity for birdie.
Hole 15
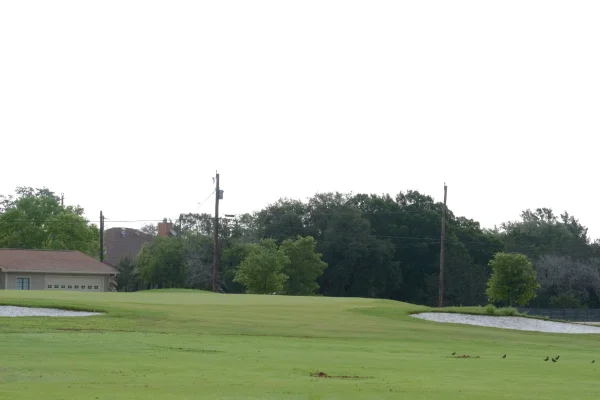
This is a long par 5 playing into the wind most of the time. Avoid the drainage area left and bunkers on the right off the tee. Out-of-bounds runs the entire length of both sides on second shots and a series of bunkers are also down the right side.
Choose the distance of your second shot well and keep it in the center area of the fairway to set up your approach. This green is wide side-to-side but narrow front to back so distance control on the approach is important. Bunkers guard the front and both sides and the back slopes away severely so the only “bail out” area is short in the middle/front of the green.
Hole 16
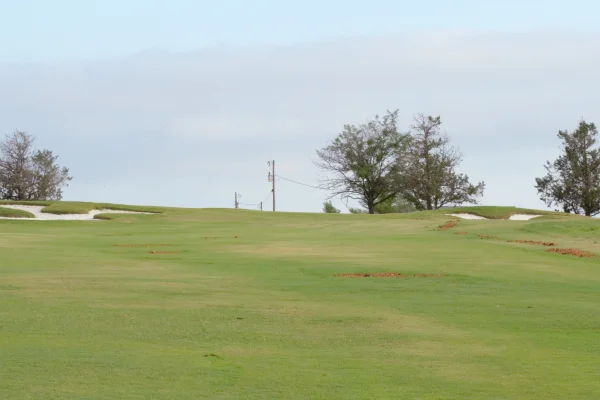
A fairly straight and uphill par 4. It looks simple from the tee but don’t get deceived. This is one of the more difficult par 4s to birdie due to the uphill slope of the fairway and bunkering around the green.
Watch out and don’t overspin your approach as this green slopes back to front and will run off quickly. Out-of-bounds also looms on both sides and there is a newly planted forest on the right.
Hole 17
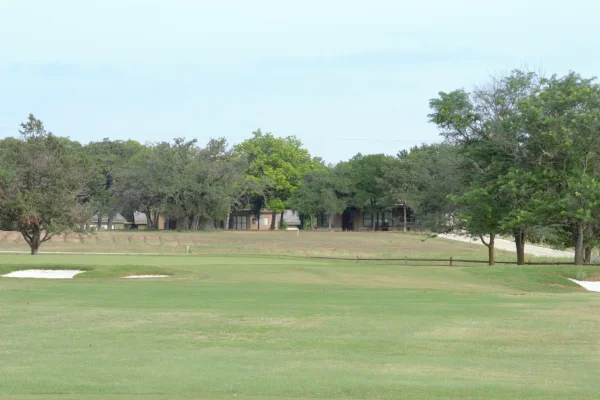
The longest par 3 and typically plays downwind. Green is protected by bunkers at the front on both sides with a pretty narrow opening between them.
Choose your club wisely and don’t miss this green long or off the right. Slopes could kick your shot out-of-bounds.
Hole 18
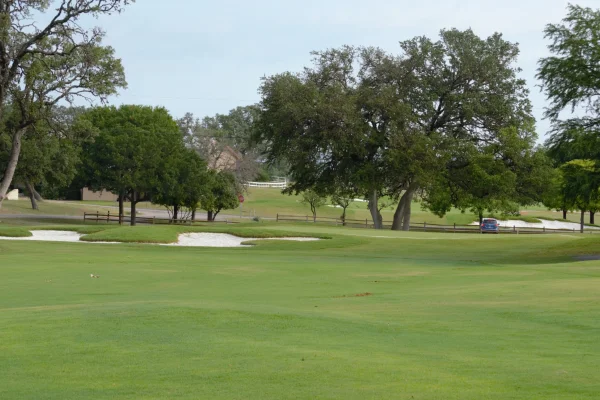
A great par 4 finishing hole. A severe dogleg right at about 230 yards off the middle tees. A small lake to the left and out-of-bounds the entire length of both sides. This hole also presents a risk/reward opportunity with emphasis on “risk”.
Trying to cut the corner is greatly more difficult than it looks from the tee due to trees hidden from view down the right side. A good drive here should leave you with an approach shot of about 150 yards. The green is protected by bunkers on all sides except the back right and it slopes from right to left. Pin placements on the left side of this green are particularly difficult due to slope and bunkering.
Those pesky power lines come into play again as they cross this fairway. The same rule applies here as does on #10. If your ball contacts a powerline, you must replay the shot without penalty.
Hole 19
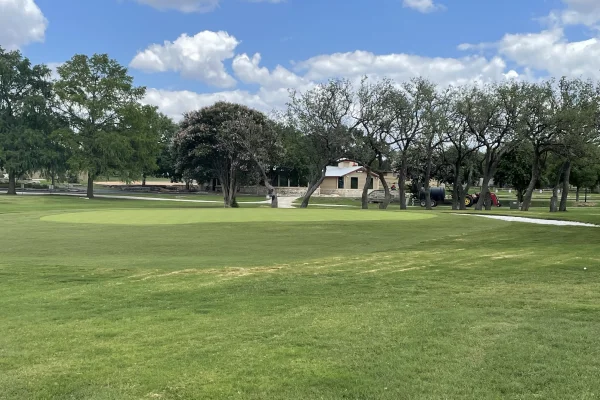
Our bonus hole is located between hole one and hole nine and is typically used for tournament tie breakers and special events. A par 3 with a “horseshoe” bunker surrounding about 70% of the green.
It is also the smallest green on the course. Go long and you’re either in the bunker or possibly in the trees beyond. Choose the right club and hit it straight to break the tie and win!
Course Layout and Features
Our meticulously designed course spans 6,646 yards and features a layout that takes full advantage of the natural beauty of the Texas Hill Country. Each hole offers unique challenges and stunning views, ensuring a memorable round of golf every time.
Beautiful Terrain and Scenic Views
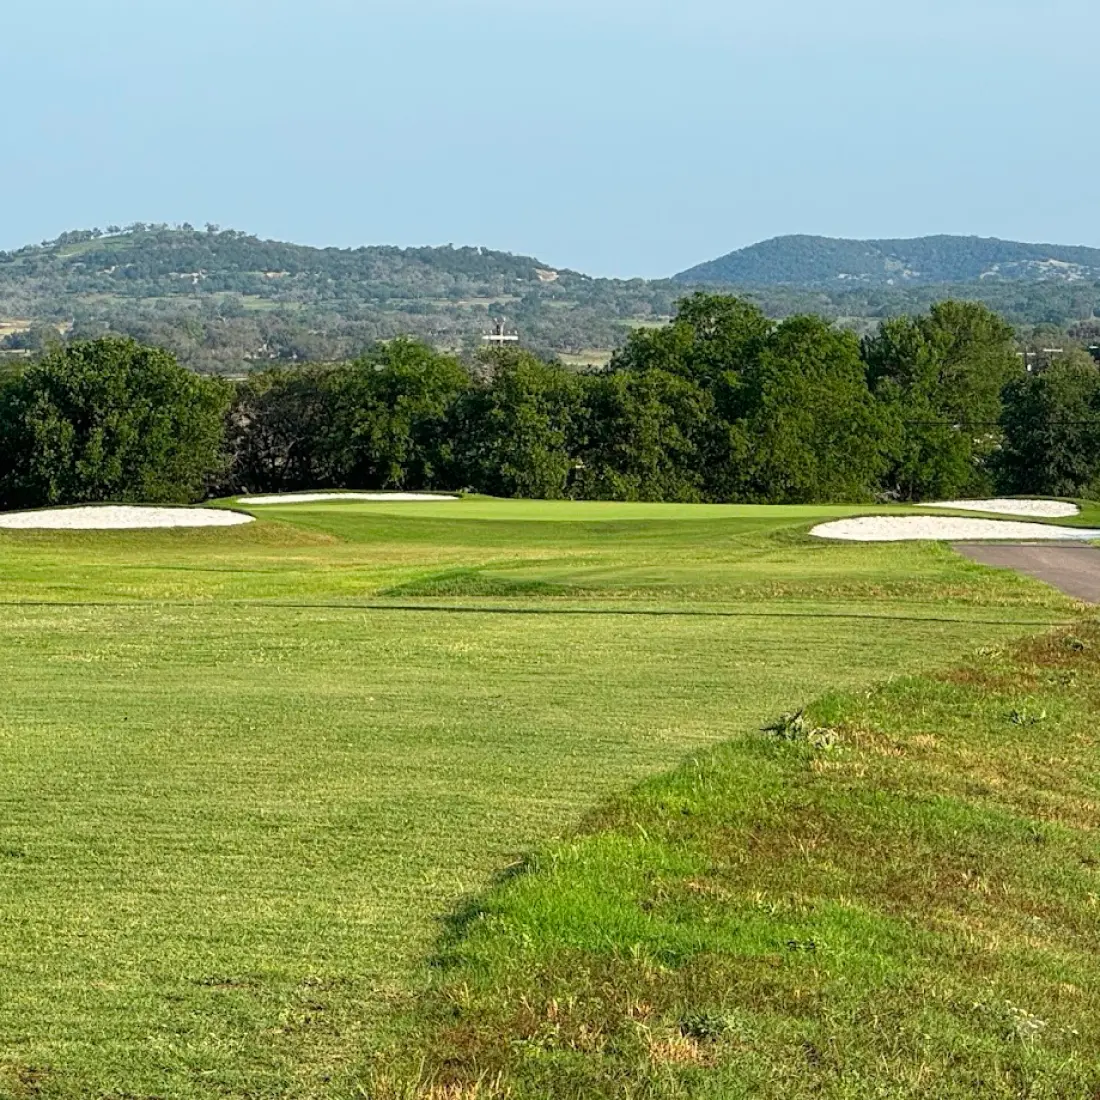
The course is set against the majestic backdrop of the Texas Hill Country’s rolling hills and towering oak trees. Each green offers picturesque views, making every hole a visual delight. Despite the presence of these beautiful oak trees, our fairways are generous and playable, catering to both novice and experienced golfers.
Year-Round Playability
One of the standout features of Flying L Golf Course is its great year-round weather. The mild climate makes it possible to enjoy our course throughout the year, making Flying L a preferred destination for golfers from near and far.
